A camping forum for VW bus and camper owners.
Has anyone rebuilt one before? What was your choice of wood, hardware, cushion, and cover material? Did you modify anything from the original design? Got any pictures of your process?
Looks pretty straight forward and I have all the existing wood to use as templates. This will be my first rebuild on one of these and want to avoid any setbacks.
I could really use a picture of how the frame work attaches to the rear shelf above the engine compartment. It looks like the passenger side mount is bent.
Any help would be greatly appreciated.
Views: 7659
Replies to This Discussion
-
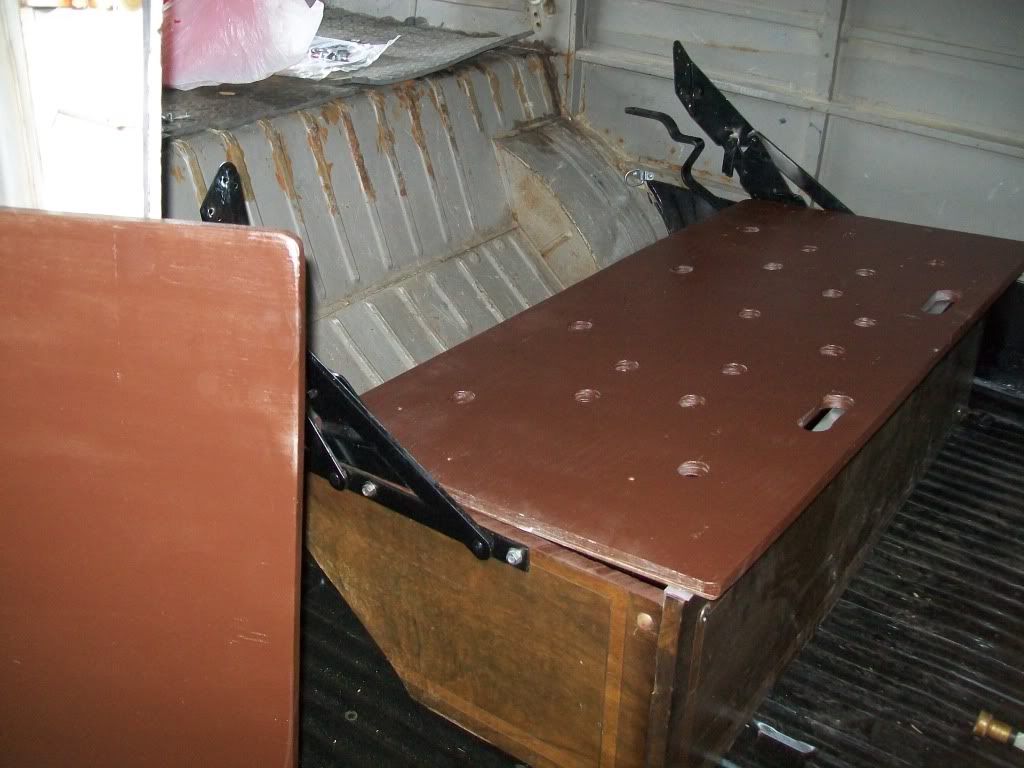
I used the old seat platform as a template and cut a new one out of thick plywood. Then I spent the rest of the day "Swiss Cheesing" the base.
I bought new hole saw blades thinking nice sharp teeth will cut through the plywood like butter.
Well....not so much.
Started with my 3/8 drill. After a couple holes, the drill was heating up. I got my 1/2 drill and it seemed to work better, but the blades still got very hot. I would switch back and forth using the 3/8 drill to cut the smaller holes and the 1/2 to cut the big holes allowing the drills to cool down.
If I had another set of hands, I would have tried using the drill press.
Why the holes?
I learned today that seat cushions made of vinyl or leather need to breathe. When you plop down on the seat the air trapped under the material will exhaust through the holes. Seat covers made from fabric are porous and don't need the exhausting holes.
Interesting trivia! Another spin off benefit is a slight weight savings in the construction.
The original wood didn't seem to be treated with anything, but I think will coat them with sealer and/or paint after the wood is sanded and the edges are beveled.
-
Some pictures here that might help
http://www.flickr.com/photos/canterburyfour/sets/72157617071629339/
-
I used the old seat platform as a template and cut a new one out of thick plywood. Then I spent the rest of the day [i]"Swiss Cheesing"[/i] the base.
I bought new hole saw blades thinking nice sharp teeth will cut through the plywood like butter.
Well....not so much.
Started with my 3/8 drill. After a couple holes, the drill was heating up. I got my 1/2 drill and it seemed to work better, but the blades still got very hot. I would switch back and forth using the 3/8 drill to cut the smaller holes and the 1/2 to cut the big holes allowing the drills to cool down.
If I had another set of hands, I would have tried using the drill press.
Why the holes?
I learned today that seat cushions made of vinyl or leather need to breathe. When you plop down on the seat the air trapped under the material will exhaust through the holes. Seat covers made from fabric are porous and don't need the exhausting holes.
Interesting trivia! Another spin off benefit is a slight weight savings in the construction.
[img]http://i262.photobucket.com/albums/ii101/BadDogRacing_2008/forsale/...[/img]
The original wood didn't seem to be treated with anything, but I think will coat them with sealer and/or paint after the wood is sanded and the edges are beveled.[/quote]
-
After initial fitting and testing of the seat bottom, I decided there were too many holes in the seat base. It felt weak and flimsy and seemed to bow too much when you sat on it. I decided to make another base and only used about half as many holes. I then sealed the wood with 3 coats of primer. I also cut and finished the seat back.
I also sealed the cargo area floor with POR15 before installing the seat/bed frame
-
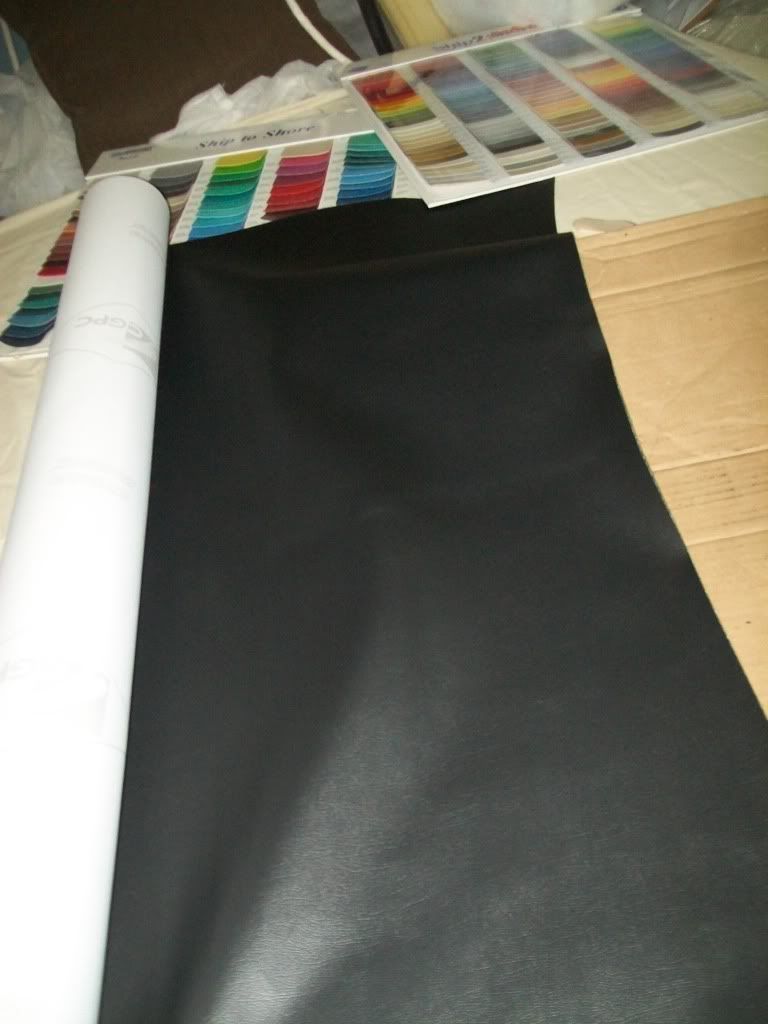
The finishing touch was the material to cover the foam with. My seamstress had a number of material samples and we found something that perfectly matched the front seats. She did the final installation and upholstery of the foam and vinyl material.
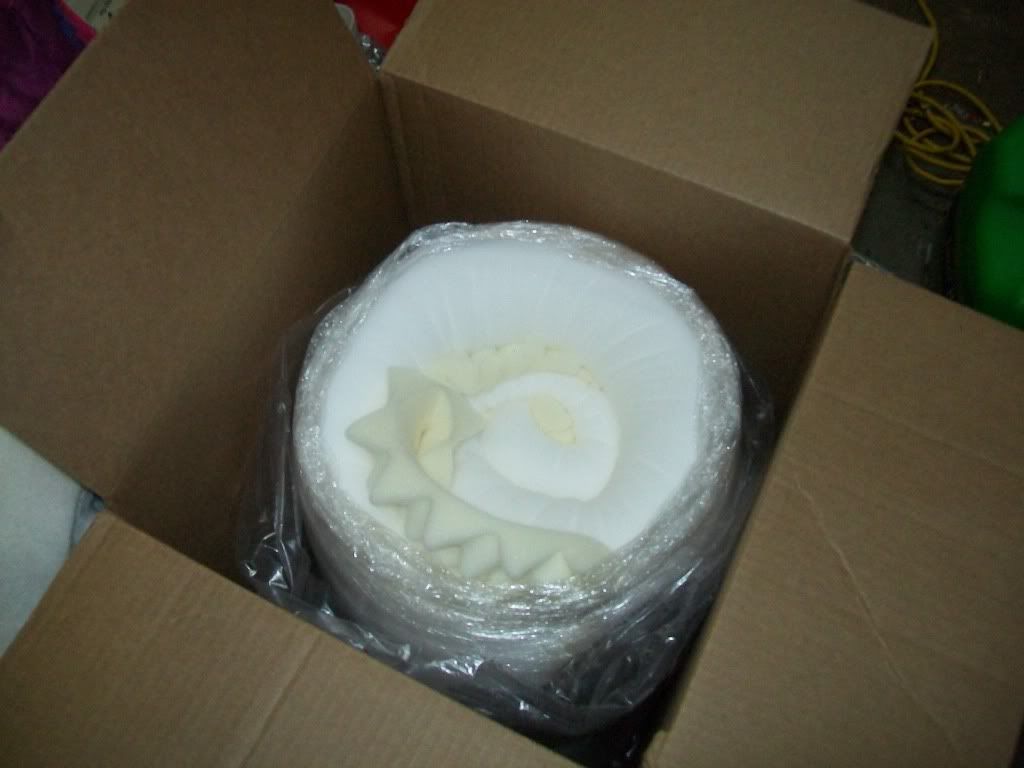
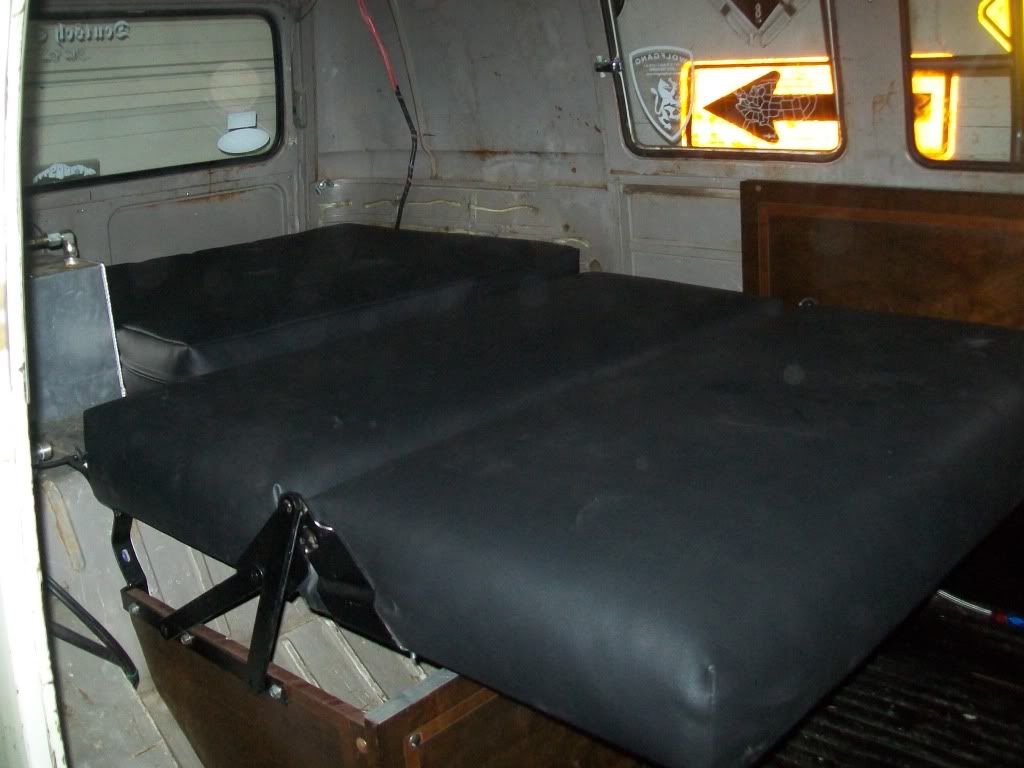
The foam was glued to the wood platforms and the material was cut, stitched, and stapled over the foam. Instead of using long wood screws and/or lag bolts, I decided to through bolt the platforms to the frame using carriage bolts and nuts.
The rear cushion that sits over the engine is just material over foam, just like the original Westy design
So here is how it looks in the bed position.
-
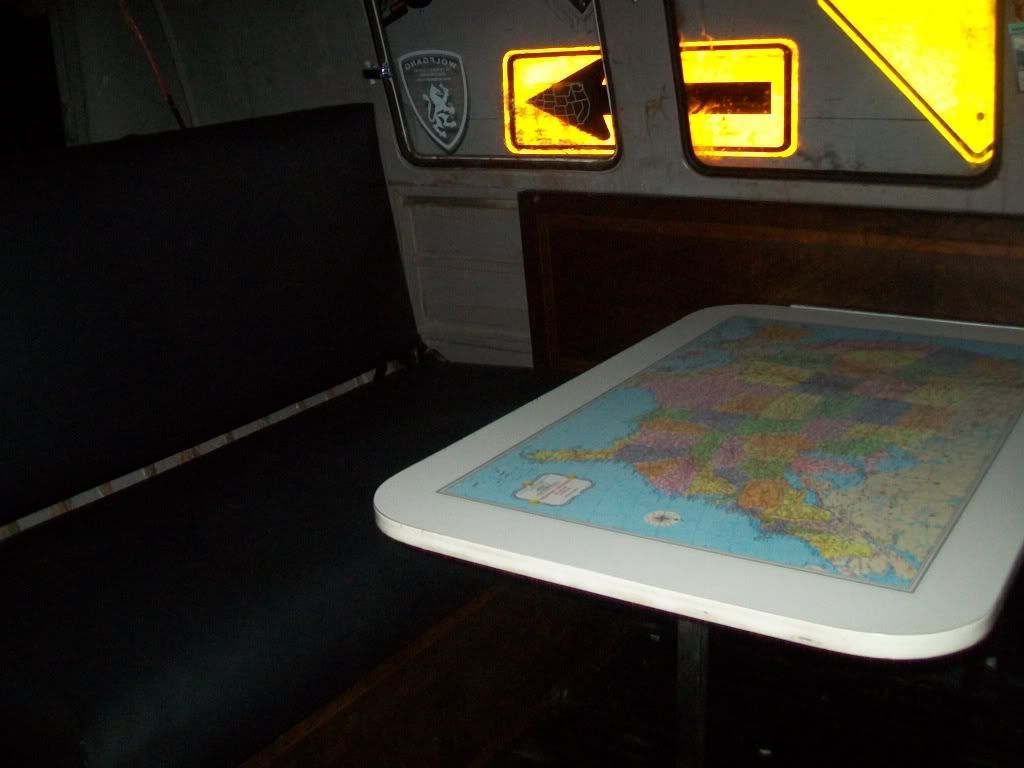
To finish things off I added this table complete with a map of the US. I was lucky to find the table at a Pick-N-Pull from an old cab over camper.
The Westy Bed is comfy as both a seat and a bed. So comfy that it rivals my bed at home for a good nights sleep. I have been told that black material is not the best choice for it can be hot on a warm evening. So far it has been very comfortable and I like the fact that the darker material is easier to keep it looking clean.
So far I have 6 nights of camping on the bed and it has been wonderful. All things totaled, I have about $350.00 in costs for materials and it took me about 10 hours in labor.
Let's go Camping!
-
That turned out pretty sweet! Congrats on completing the project!
- ‹ Previous
- 1
- 2
- Next ›
© 2025 Created by Big Blue's Driver.
Powered by
![]()
